
We can use Google Calendar to create a smart, integrated calendar for your website. It’s free and it’s easy
Visitors to your website need to see a calendar of your upcoming events, led by your very next one. You, however, can’t be constantly updating and amending your website. But Google Calendar is smart, always displaying your next event and it supports reoccurring events.
Here is Big Impact Design’s demo Google Calendar embedded in this post.
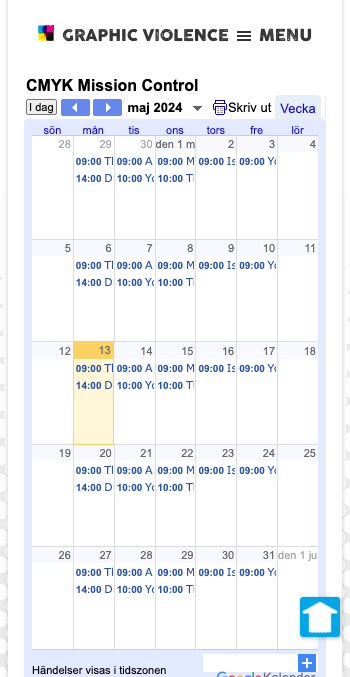
But it is not very pretty. The Google Calendar retains its native styling which does not sit well in our website design. It makes our post look like a scrapbook with the calendar cut from a different magazine and stuck in. And in truth, that is what we’ve done.
And the embedded calendar is not responsive so anyone looking on a mobile phone – and that is the majority of your visitors these days – will see a very cramped calendar.
Doing it the right way
We can integrate that very same Google Calendar in a much prettier, seamless fashion. This is the very same Google Calendar but integrated with a bit of our wizardry.
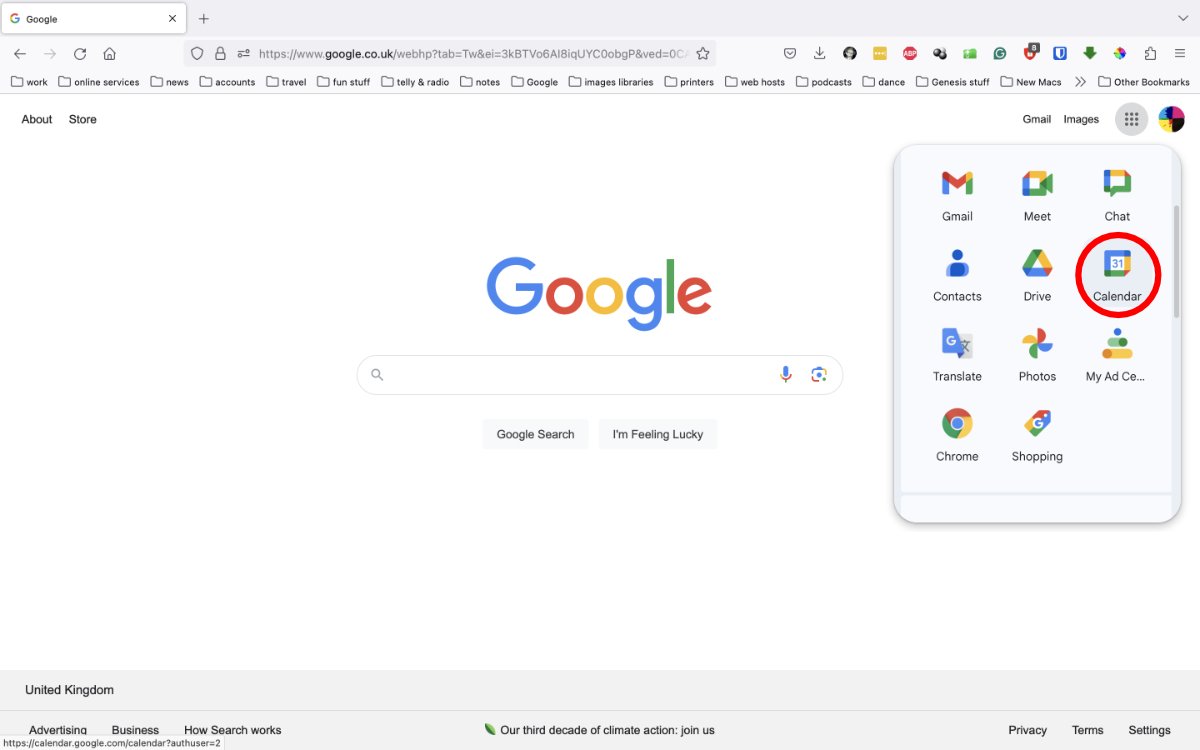
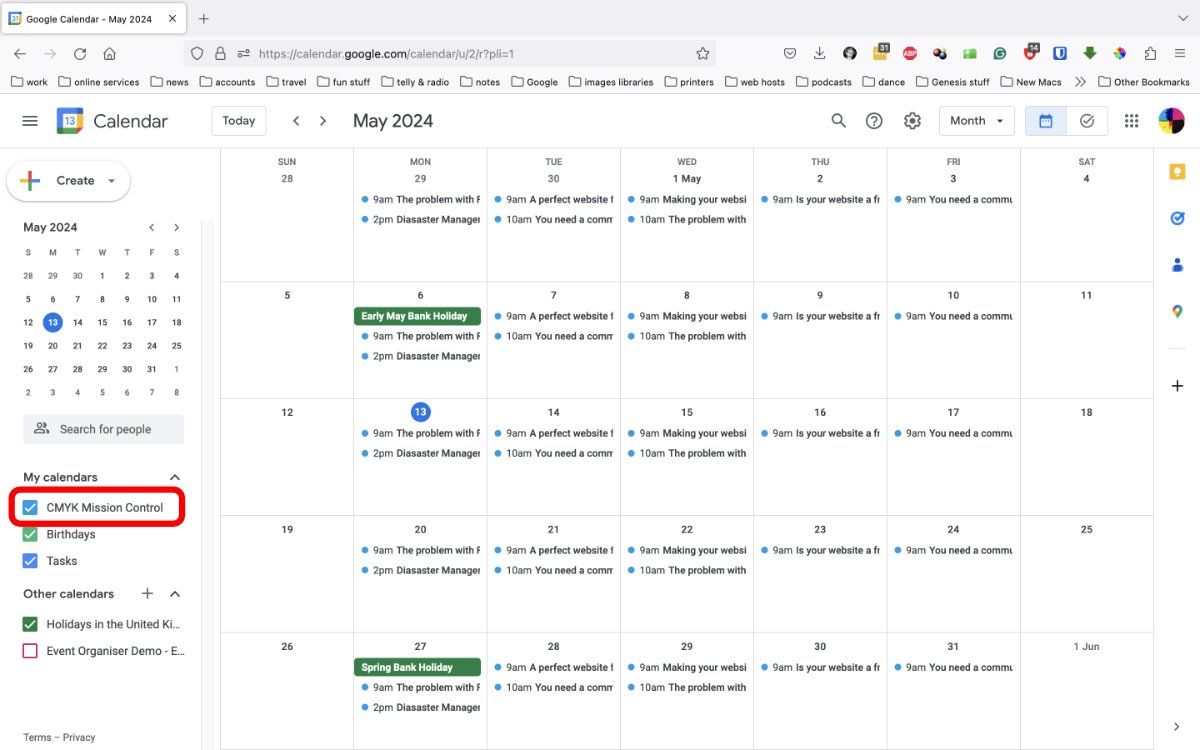
Create your public calendar
You’ll need a Google account. If you have a Gmail address then you have a calendar. If you don’t have a Gmail address, go ahead and create one, using whatever name you choose. If you have a Gmail account but don’t want to use the calendar attached to it, create a new account. Note, that our integration connects the first calendar. It cannot connect to any subsequent, public calendars.
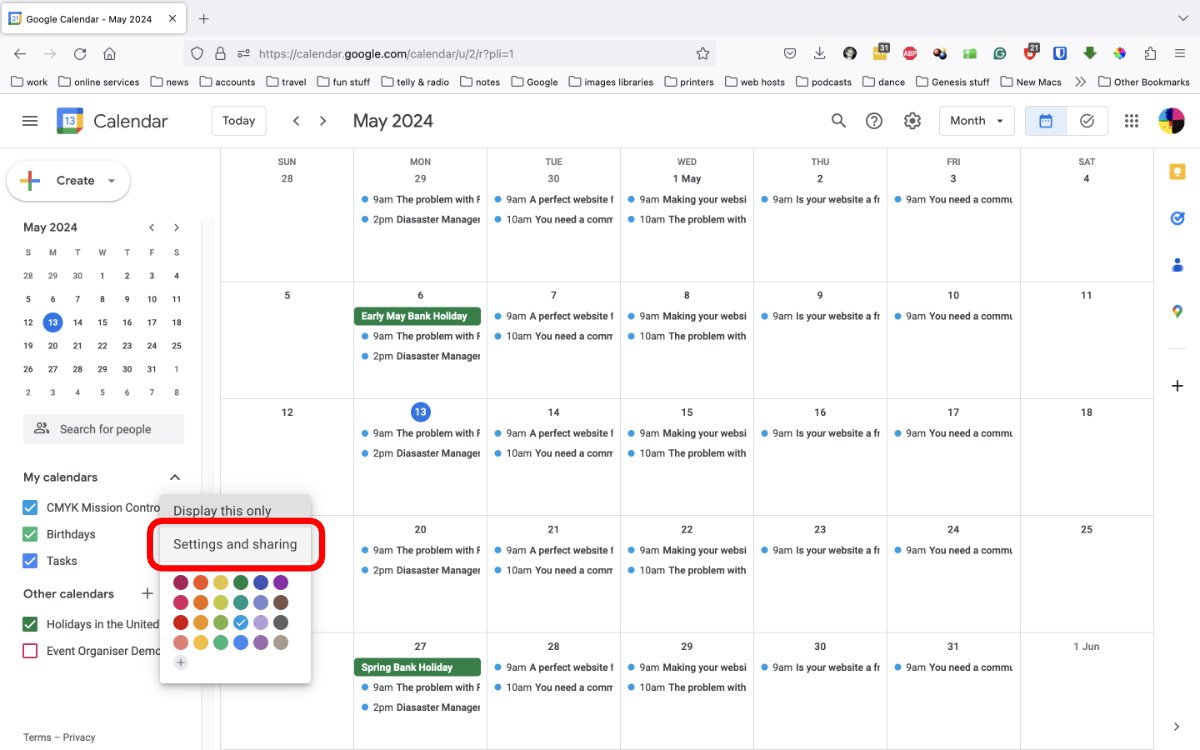
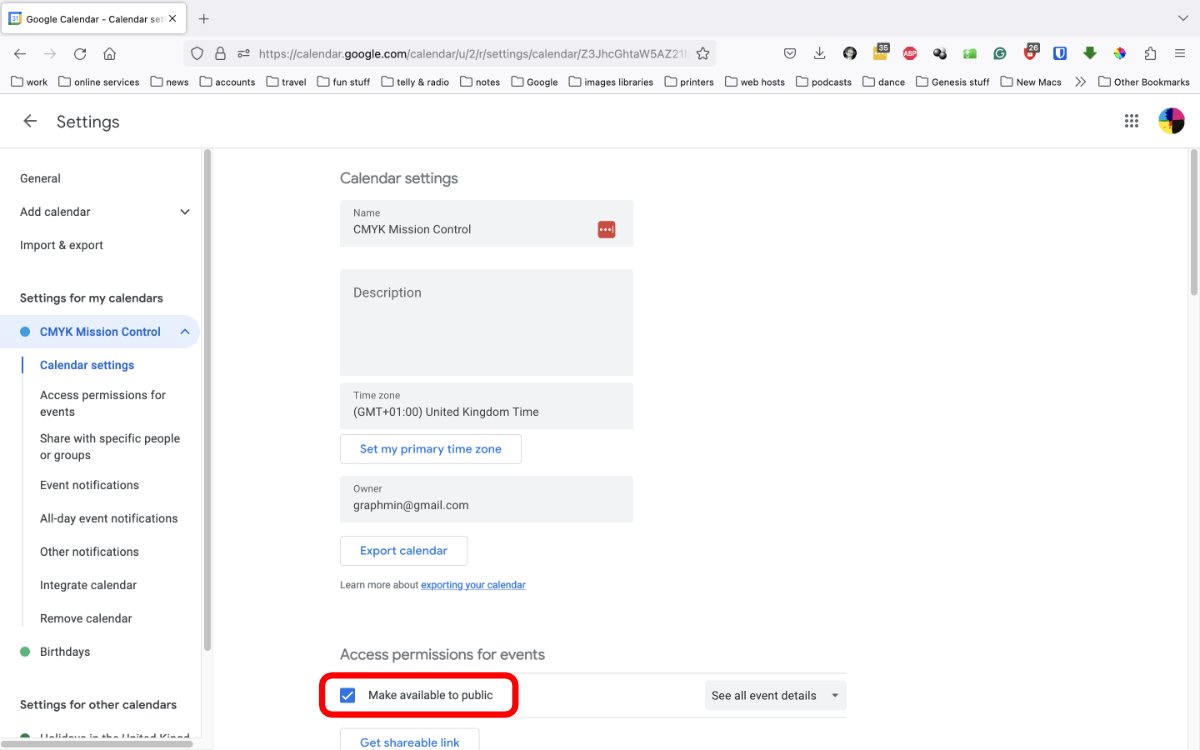
Now your calendar is public. Send us the Gmail address this calendar is attached to – you can see ours is graphmin@gmail.com – and we will connect it to your website.
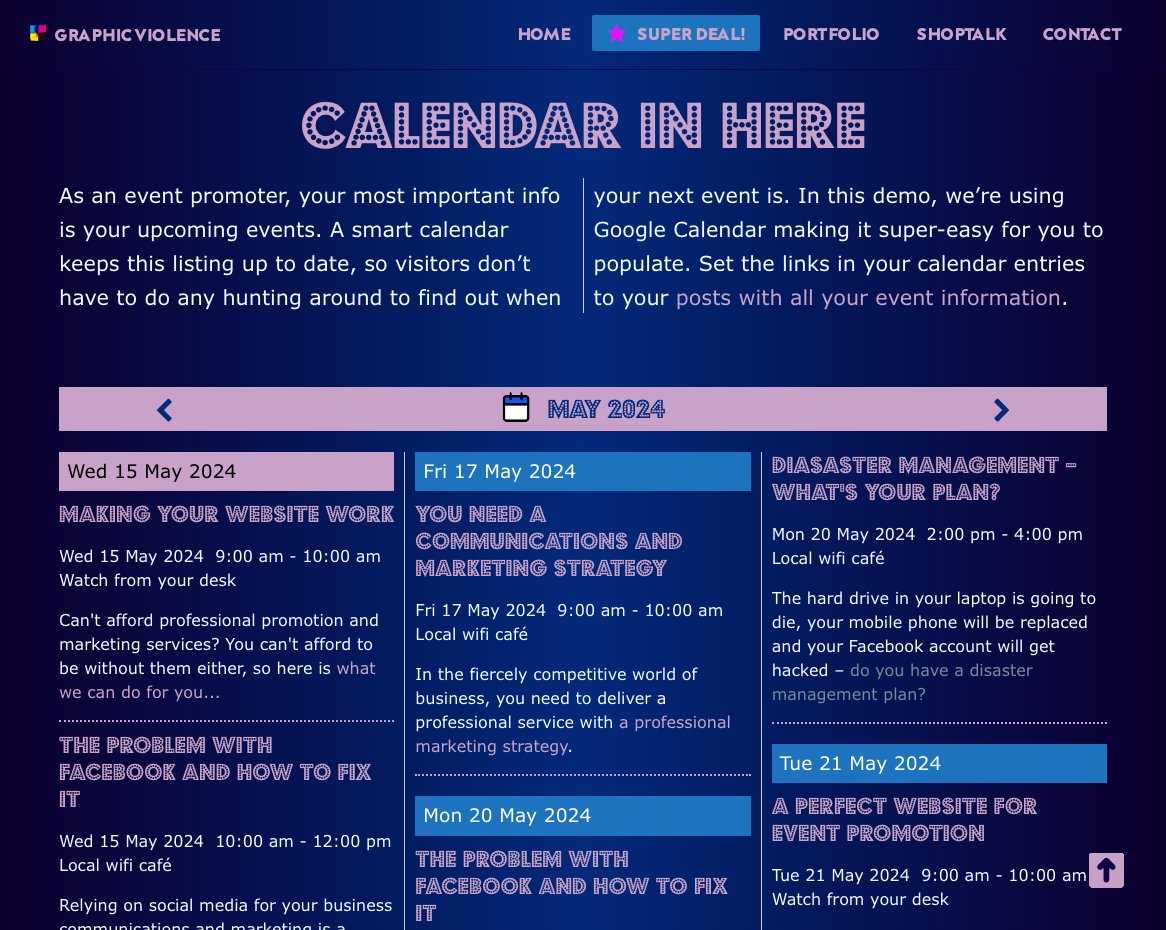
Populating your Google Calendar
If you’re not familiar with Google Calendar, rest assured it is very simple. Fill in the fields for date, time and location. You can set events to repeat with pretty much any calendar schedule you can think of.

Keep the description of your event (field 3) to a single sentence ending with a link to full event details in a post in your news feed. We want to keep the calendar listing short for quick viewing by the visitors. That’s it.